Having a strong site title is a critical ingredient for making your website great. For business professionals, web designers, or anyone managing a website, formulating a strategic site title can help a site stand out to visitors and provide better search engine results. Whether you are using a site title in the layout of your page, or if you are using this tutorial to add a logo image to your site, the site title will appear in browser tabs and provide an important function in your SEO structure.
Likewise, having a dedicated area for a company logo can be a fitting tribute to your business or brand, and you will see exactly how to accomplish this in the steps below. This is one of the easiest and fastest ways to customize the look and feel of your site and help develop your presence on the Internet. Here is a chance to get creative and tell people what your site is about.
You can easily change your site title and logo at any time within the WordPress Customizer. If you are not already logged into BoldGrid, go ahead and log in now.
- Click Customize.
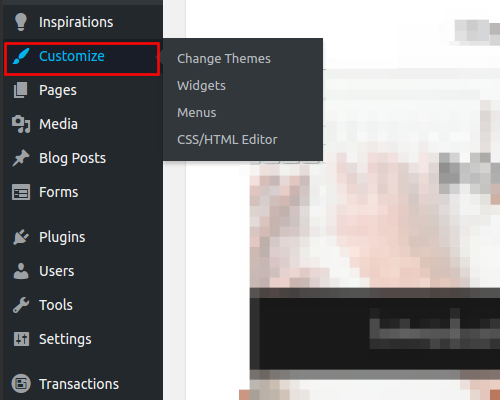
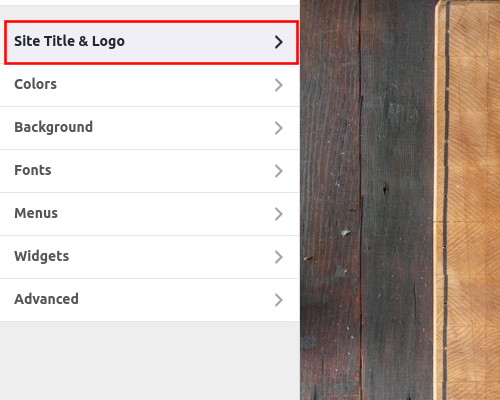
2. Select Site Title & Logo.
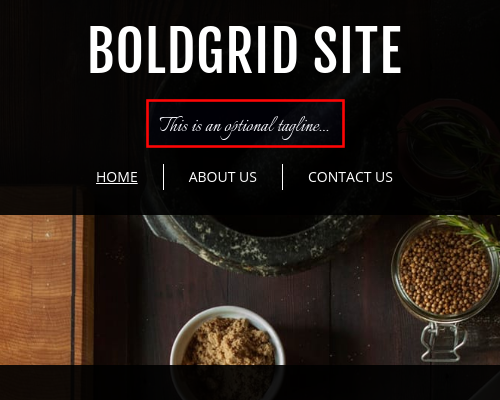
Here you can update your Site Title and Tagline in their respective fields. The tagline is a brief, optional description of what your site is about.
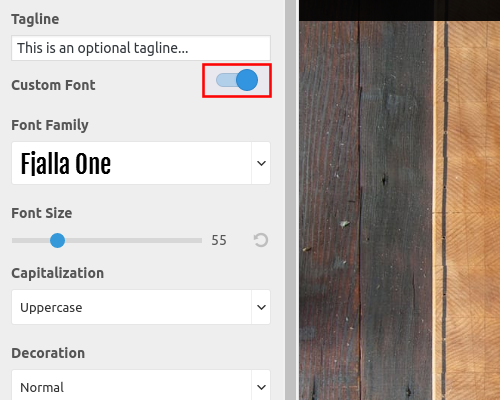
Proceeding down, you will see Custom Font options. Switch the slider button on to activate the Custom Font menu. Here you can change the font and style of your header text. You can choose from a wide variety of different fonts and control style options like capitalization, decoration, position, and more. Click through some of these parameters until you get a look you like.
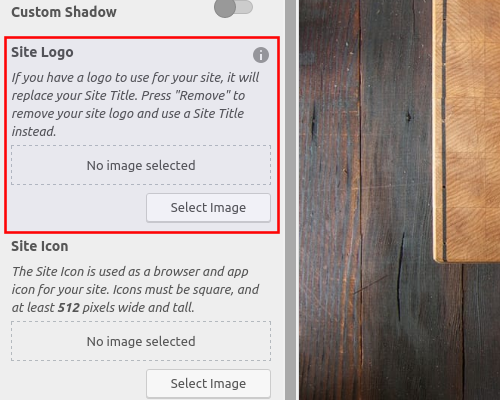
Adding a Site Logo
You are not required to use only text in your header. You can easily select a logo image from your Media Library.
- Site Logo Section
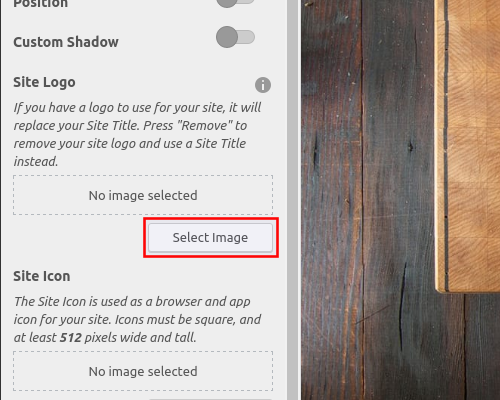
2. Click Select Image.
3. If you have not already uploaded your logo, click Upload Files.
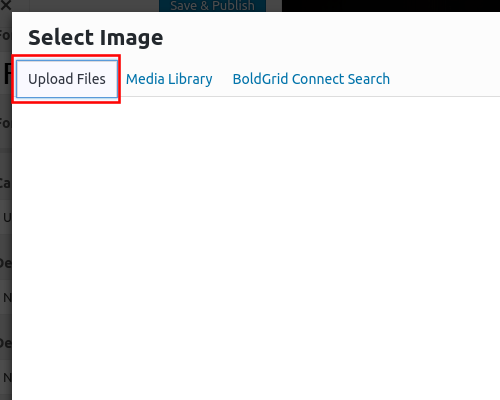
4. Once you have uploaded your image, select it from the Media Library.

5. Crop the image to full dimensions. Alternatively, you can click Skip Cropping.
- Adjust Logo Size to your desired specifications by moving the slider up or down.
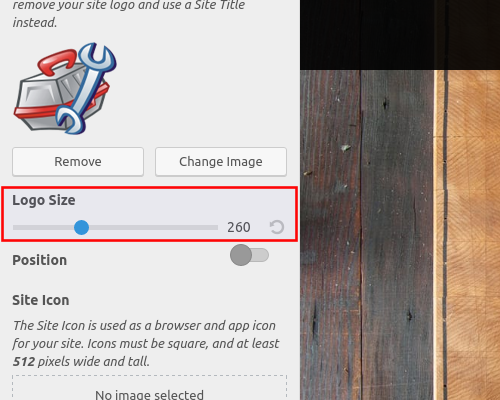
You will notice the logo image has replaced the site title.
How to Use a Site Icon
The site icon, also known as a favicon, will be the official “app icon” for your site. This icon will appear in the browser window, on bookmarks (depending on browser configuration), and only needs to be sized at least 512 pixels wide and tall. If your image is large than 512 pixels, don’t worry, it will be resized to fit.
Make sure to click Save & Publish when you are done editing.

Leave A Comment?